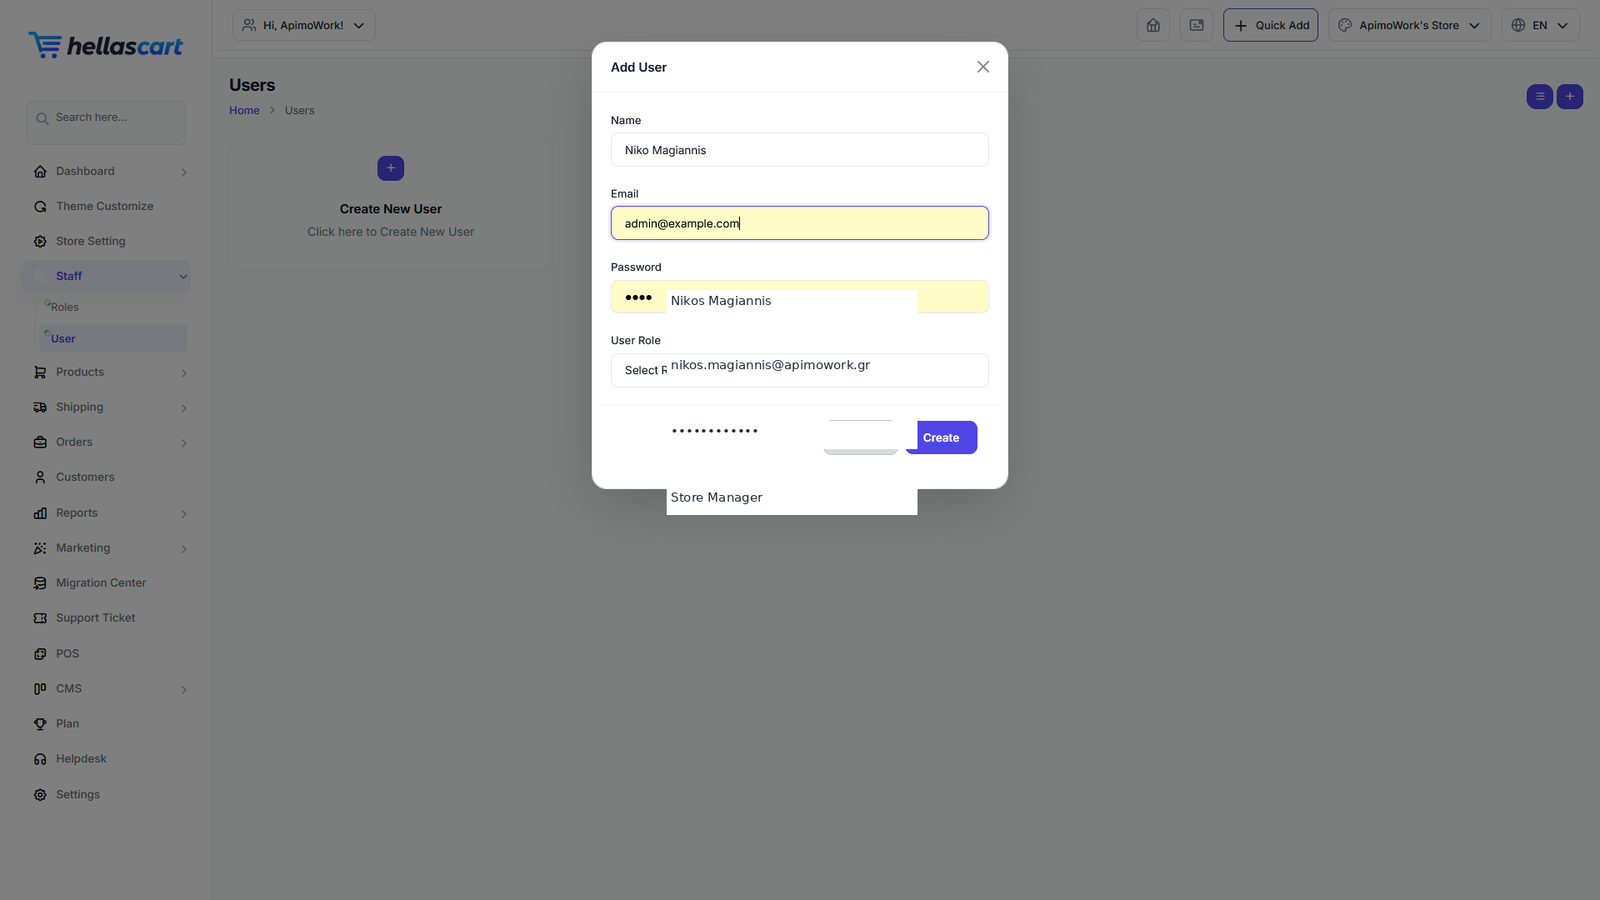
If other people help run your store, give each their own login with only the permissions they need. Staff live under the Staff menu, split into Roles and Users.
Create a staff user
- Open Staff → User → Create.
- Enter the person's name, email and a password.
- Assign a Role.
- Click Save.
TipEvery person should have their own login — never share one account. This keeps your activity history accurate and secure.
Roles & permissions
A role is a named set of permissions (for example "Order Manager"). A permission decides what that role can see and do.
- Open Staff → Roles → Create.
- Name the role after a real job — Manager, Catalogue Editor, Support.
- Tick only the permissions it should have.
- Click Save, then assign the role to users.
WarningGive Settings and Plan access only to trusted managers — these control billing and store-wide configuration.
Editing & removing users
- Edit — open Staff → User, click Edit on a row, change details or reset the password, and Save.
- Remove — click Delete on the row and confirm.
Best PracticeInstead of deleting someone who has left, disable their login. This blocks access while keeping their history intact.